ESM-3 User Manual and Specifications
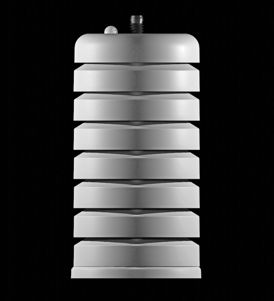
This article discusses the specification, placement, setup, and use for the Growlink ESM-3 Climate Sensor.
BEFORE YOU BEGIN: Ensure your Precision Irrigation Controller (PIC) has the latest firmware installed. Guide to Update PIC Firmware for the ESM-3
Specifications
The ESM-3 Climate Sensor measures the following:
- Temperature (°F/°C)
- ± /0.1°C
- Humidity (% RH)
- ±1% RH
- VPD (millibar/kPA)
- Light Levels (Lux)
- CO2 (Optional) (ppm)
- 0-5000 ppm Range
- ± 2%
- Pressure compensated for increased accuracy at any altitude
Compatibility
The ESM-3 is compatible with Precision Irrigation Controllers with Bluetooth Capability only (ESP PIC). Older versions of the Precision Irrigation Controller are incompatible with the ESM-3. To confirm your PIC is compatible, look for the Bluetooth sticker on the front door of the PIC:
![]()
Wiring
Wiring to a PIC
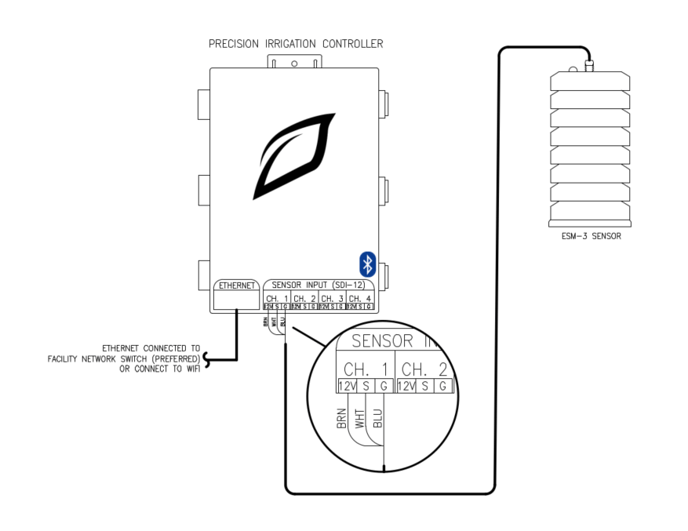
The ESM-3 is wired to one of the four SDI-12 inputs on the PIC. Each SDI-12 input on an ESP PIC can support the use of a single substrate probe and a single ESM-3 simultaneously, allowing for a user to have a total of 4 substrate sensors and 4 ESM-3's connected to a standalone ESP PIC. The wiring diagram below illustrates how to wire an ESM-3 to your PIC:

Depending on the SDI-12 cabling received, there are different terminations that one would utilize. The list below goes over all possible SDI-12 cabling one can receive for the ESM-3 and relevant wiring terminations to be made:
If you have Brown, White, and Blue Wires: Brown is +12VDC, white is signal, blue is ground.
If you have Black, Brown, and Blue Wires: Black is +12VDC, brown is signal, blue is ground.
If you have Black, Brown, White, and Blue Wires: Black is unused, brown is +12VDC, white is signal, blue is ground.
If you have Green, Black, Brown, and Blue Wires: Green is unused, black is +12VDC, brown is signal, blue is ground.
1. Connect the Brown or Black (cable dependent, see above) Wire Lead to the "12V" Terminal of the PIC channel used.
2. Connect the White or Brown (cable dependent, see above) Wire Lead to the "S" Terminal of the PIC channel used.
3. Connect the Blue Wire Lead to the "G" Terminal of the PIC channel used.
Sensor Placement
Place the ESM-3 sensor within the micro-climate area of the canopy space you intend to measure. The sensor should be placed at or near the top of the canopy level to accurately measure the environmental data for the plants.
Setup with the Growlink App
1. Ensure the PIC you are connecting to has the most current firmware version. Follow this guide to ensure you have the most current version on your PIC.
2. Once the Firmware is updated, wire the ESM-3 to the PIC Controller.
3. Press the "Reset" Button on the Precision Irrigation Controller
4. Within a few minutes the ESM-3 will auto-detect and show up in the Growlink App and will be ready for use.
Warranty Info:
Sensors sold have a warranty of 1 year from the date of receipt or date of registration, whichever occurs first. Further warranty information can be found at the link below:
https://www.growlink.ag/return-policy-1

