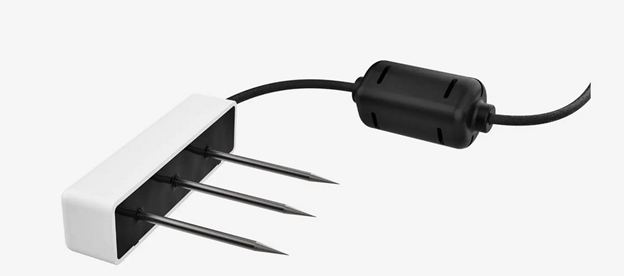
TEROS 12 probes are capacitance-based probes, which treat the substrate like a battery. By energizing the substrate with a weak electrical signal, the probe can estimate the amount of water within the substrate and the relative salt concentration as well. Appropriate substrate placement and common issues seen with substrate probes are listed below as well as steps one can take to isolate and resolve them:
TEROS Substrate Placement
For Rockwool cubes and slabs, appropriate placement is 1” from the bottom of the substrate. If one is using a rockwool slab, one would want to place the substrate probe equidistant between two plants within that slab.
For CoCo substrates, the placement differs with the size of the pot being used. For 1 gallon CoCo pots, 1” from the bottom is the appropriate placement. For 2 gallon CoCo pots, 2” from the bottom will suffice. For 3 gallon CoCo pots and larger, 3” from the bottom is the appropriate placement.
Sensor reading too low:
If the sensor is placed too high within the substrate, the sensor will read lower than expected due to the current induced by the sensor not propagating throughout the entire substrate. Placing the sensor lower in the substrate relative to the bottom will resolve this discrepancy.
Sensor reading too high:
Similar to the section above, if the sensor is placed too low in the substrate the sensor will read higher than expected due to the current induced by the sensor propagating through all of the pooled water at the bottom of the substrate, resulting in a higher than expected reading. Placing the sensor higher in the substrate relative to the bottom will resolve this discrepancy.
Customers using certain substrate types, such as CoCo Coir, may need to place their substrate probes an inch higher than users using Rockwool due to the non-uniformity of CoCo.
TEROS Sensor not reporting data:
If a sensor is not reporting any data when looking at the controller it is wired to, there are a couple of steps to check in this regard:
Ensure terminations to the controller are correct:
Brown = 12V
Orange = Signal
Silver = Ground
If one is using a Teros probe with an M8 connector, the Teros probe should be wired as follows to the controller:
Brown (Pin 1) = 12V
White (Pin 2) = Signal
Blue (Pin 3) = Ground
After checking terminations of the sensor, tap the reset button on the controller. A Precision Irrigation Controller (PIC) will only scan for hardware changes when it has been rebooted.
Erratic VWC readings
Erratic VWC readings from a substrate sensor can be caused from an air pocket surrounding the tines of the substrate sensor or from the substrate being root-bound. Both of these conditions result in a high variance in reported permittivity from the substrate sensor and subsequent variance in VWC readings reported.
Probe daisy-chaining
Precision Irrigation Controllers (PIC's) by default are setup as standalone controllers, which only allow one to connect a single probe per SDI-12 port on the controller.
However, a PIC that is converted into a module underneath a Core controller or Connect Controller is able to daisy-chain substrate sensors, up to a total of 10 probes per port or 40 probes total across all 4 SDI-12 ports on the PIC module itself. In order for probes to be connected in a daisy-chain, each probe must be set to a unique address for the PIC module to detect the probe and report their readings.
Locating Sensor Addresses
TEROS probes are set to an address of 1 by their manufacturer. In order to daisy-chain TEROS sensors together one would need to set the addresses of the sensors to be unique.
Warranty Info:
Sensors sold from Growlink have a warranty of 1 year from the date of receipt or date of registration, whichever occurs first. Substrate sensors procured from another manufacturer defers to their specific warranty documentation. Further warranty information can be found at the link below:
https://www.growlink.ag/return-policy-1