Connect Controller - Mobile Quick Start Guide
Ready to get started with your new Connect Controller?
Table of Contents:
1. Create an Account
-
- Head to the Growlink Portal
- If you already have an account, login with your credentials, or
- Create an account by clicking Sign Up
- Fill in the required information
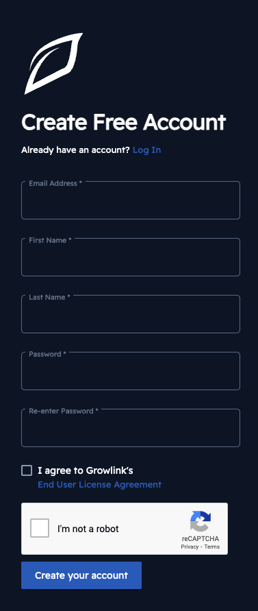
- An email will be sent for you to verify your account
- After logging in to your new account, pick a plan that works well for you
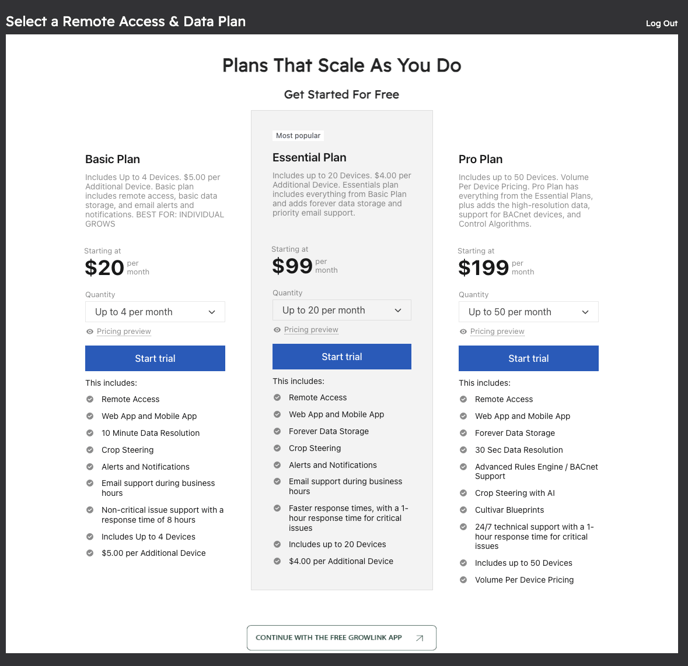
- Or click Continue With The Free Growlink App
- Scan the QR code for your device type and download the Growlink App
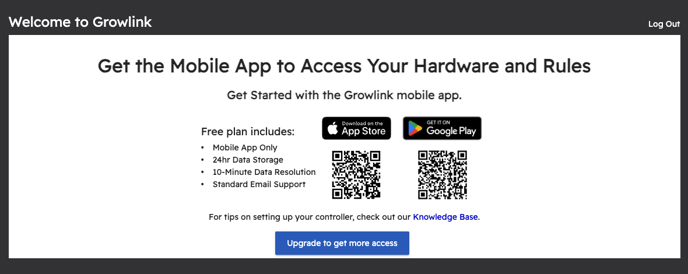
- Once downloaded, enter your account details and login
2. Setup a Device
-
- Once logged in to your Growlink mobile app, click the Settings wheel in the top-right corner
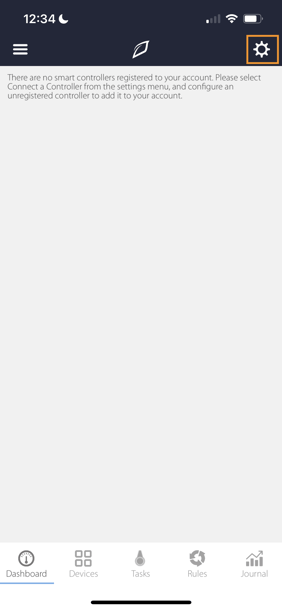
- Click Connect a Controller
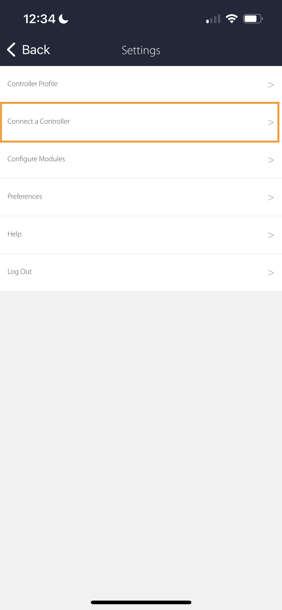
- Choose your desired setup: Wi-Fi or Ethernet
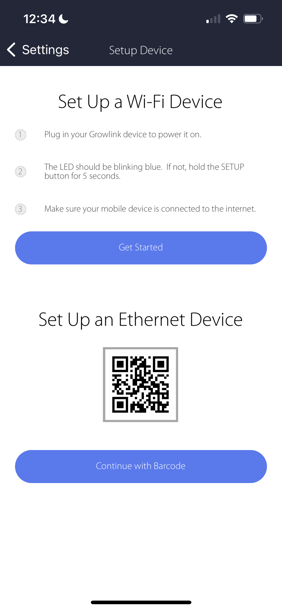
- For Ethernet setups, click Continue with Barcode
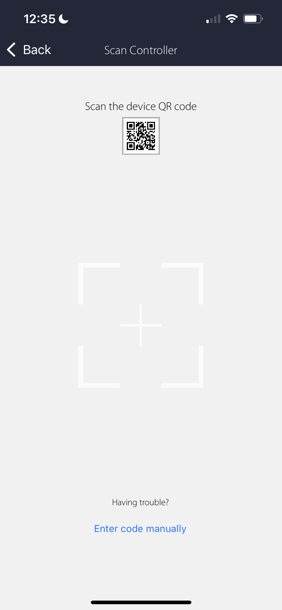
- Scan the device QR code, or enter your code manually
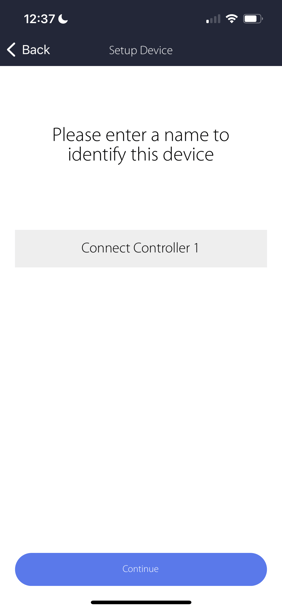
- Assign a name to your new Connect Controller to easily identify the device
- Navigate back to Settings
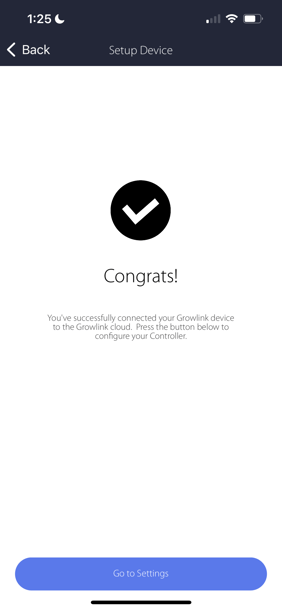
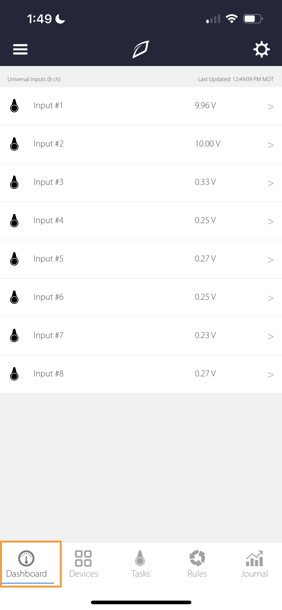
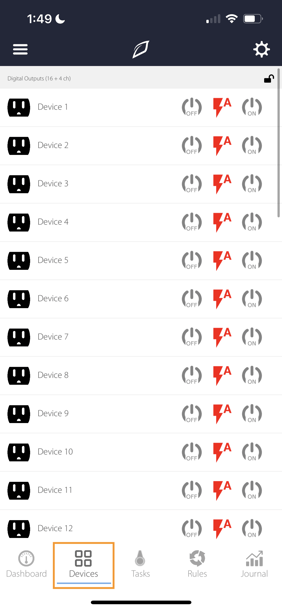
- You should now see Inputs on the Dashboard tab, and Devices and Outputs on the Devices tab
- Once logged in to your Growlink mobile app, click the Settings wheel in the top-right corner
3. Getting Sensors Online
-
- Analog Output Overview and Wiring Instructions
- BACnet MS/TP Overview and Wiring Instructions
- ESM-2 Overview and Wiring Instructions
- Mechanical Relay Overview and Wiring Instructions
- Solid State Relay Overview and Wiring Instructions
- Universal Input Overview and Wiring Instructions